
Defining access control
We can manage who can access every field and directive in the schema through access control lists.
Gato GraphQL ships with the following access control rules:
- Disable access
- Grant access if the user is logged-in or out
- Grant access if the user has some role
- Grant access if the user has some capability
- Grant access if the visitor comes from an allowed IP address
Whenever the requested query (either executed through a custom endpoint or as a persisted query) contains one or more of the fields or directives added to the access control list, the corresponding rules are evaluated. If any rule is not satisfied, access to that field or directive is denied.
The configuration is created through an access control list (ACL), and delivered to custom endpoints and persisted queries via the schema configuration.
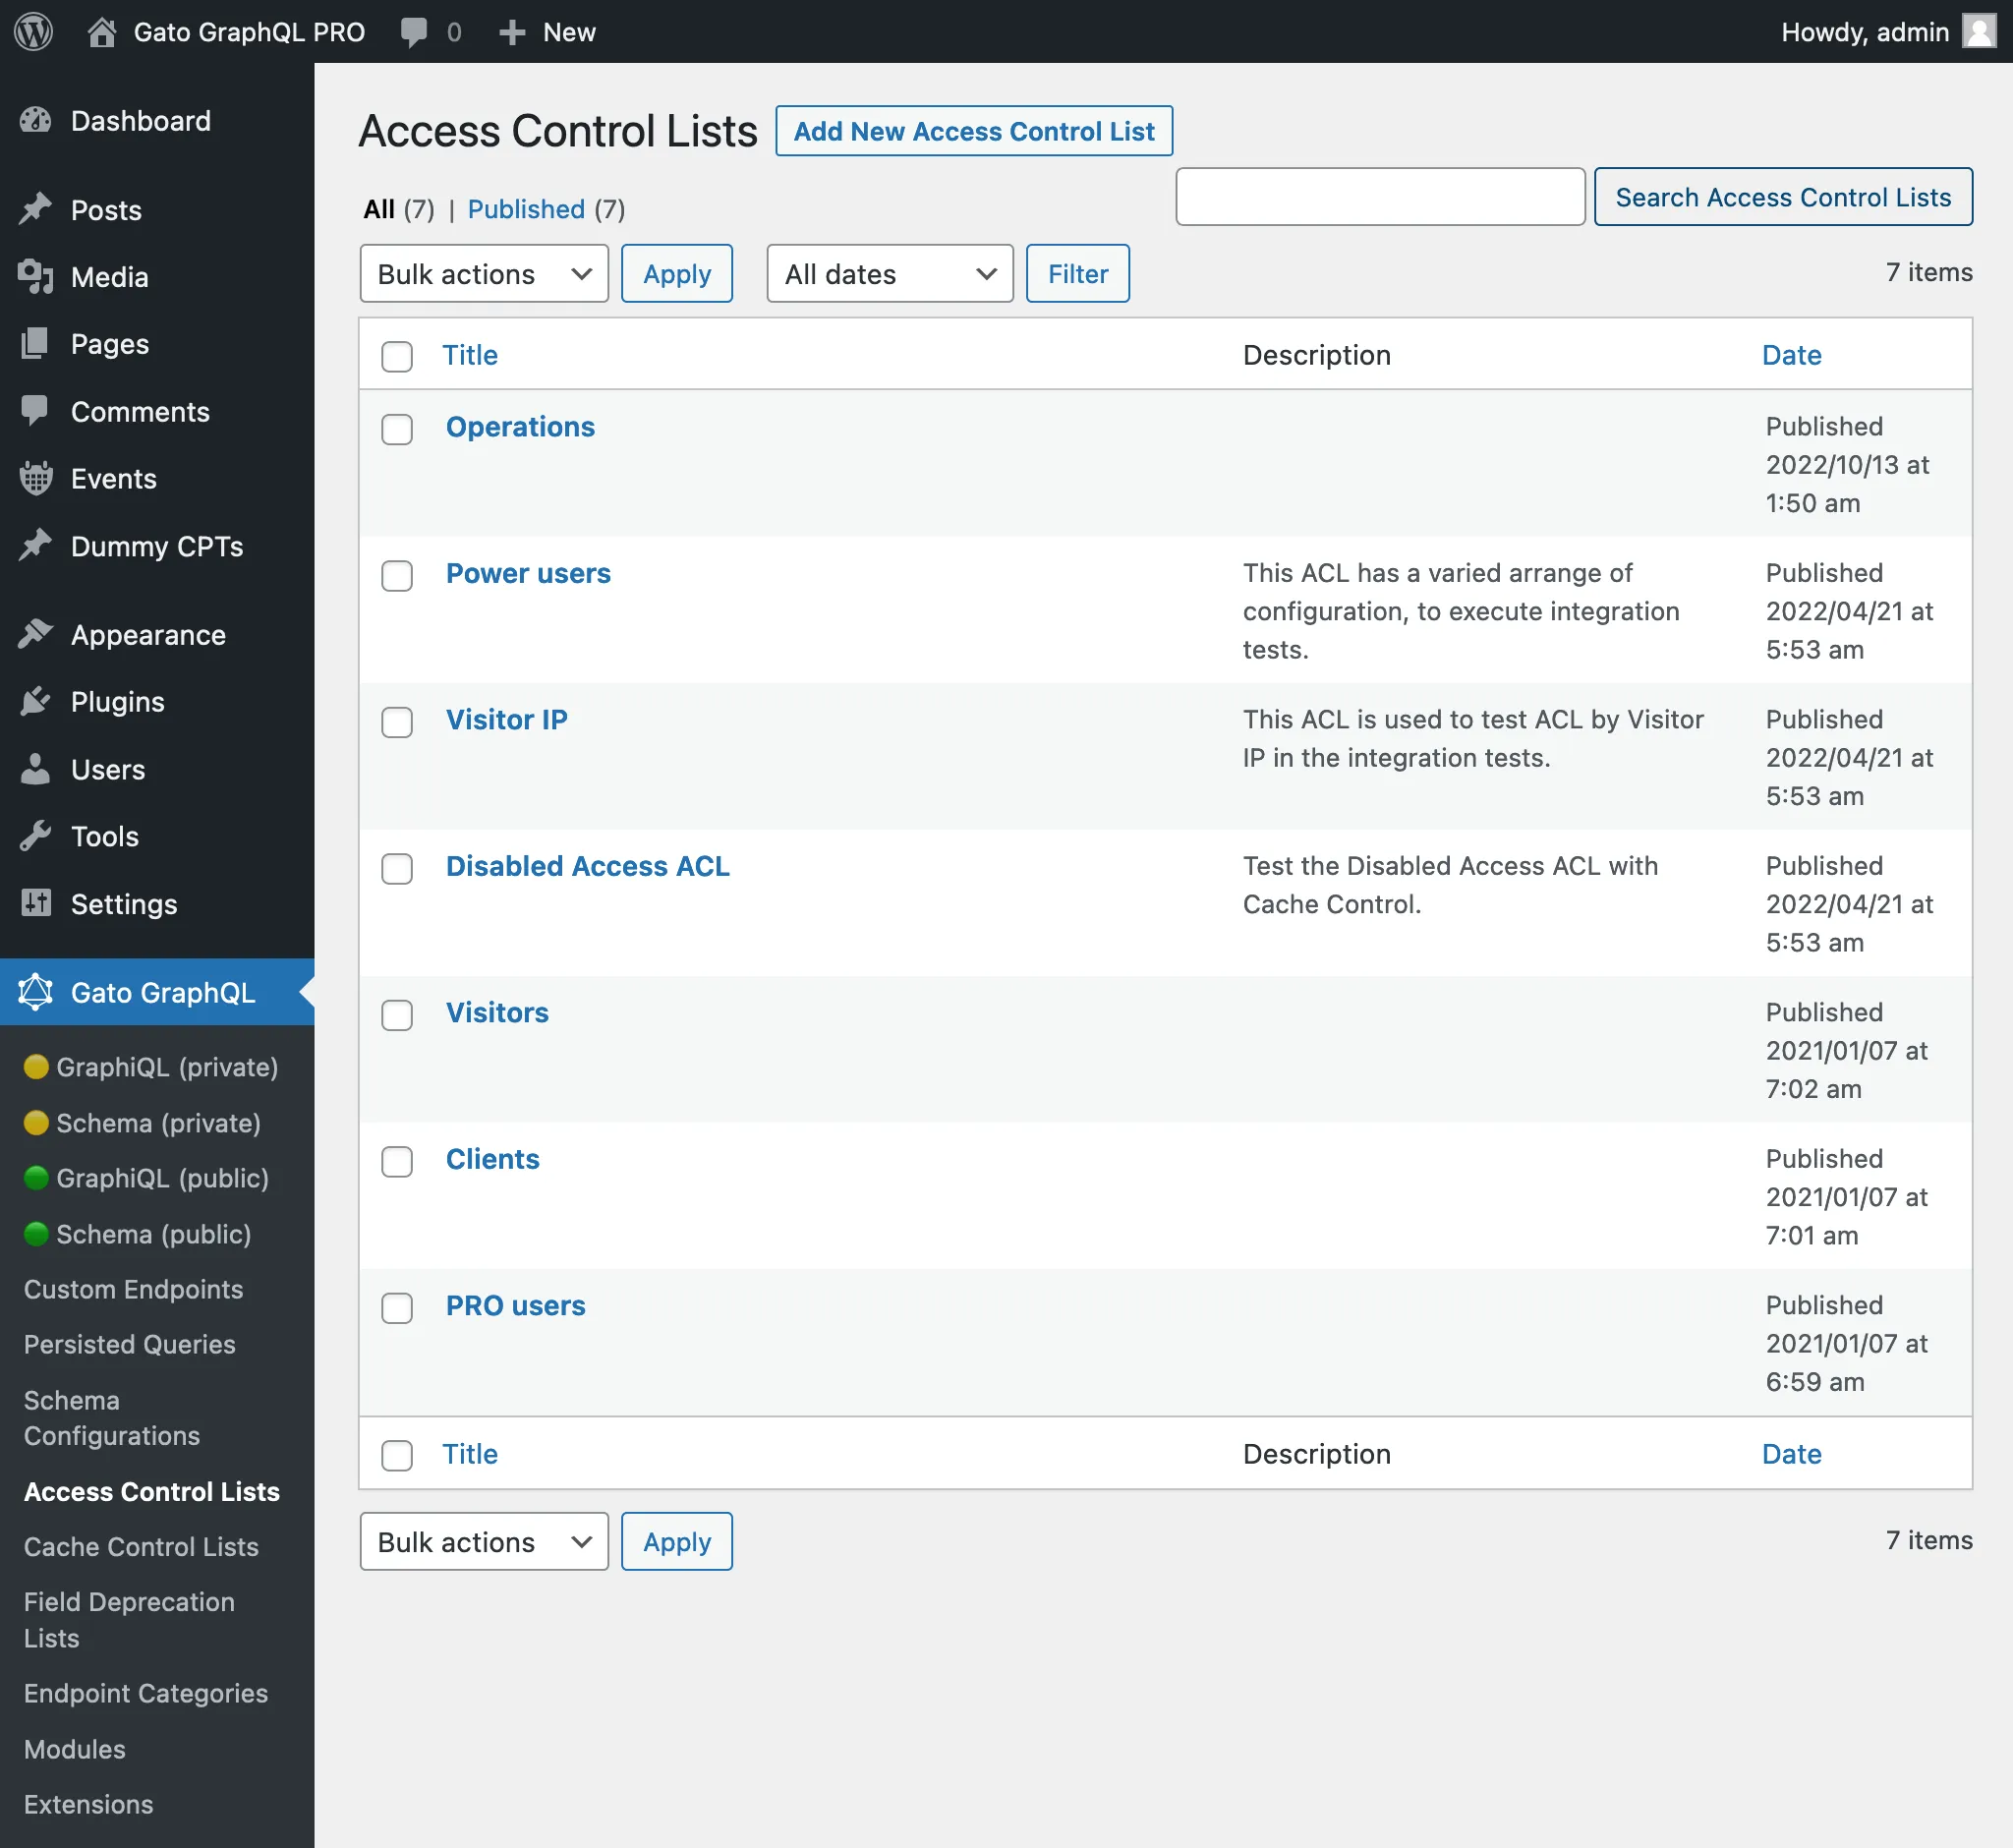
Accessing all access control lists
Clicking on "Access Control Lists" on the plugin's menu, it displays the list of all the created access control lists:
Creating a new access control list
Click on button "Add New Access Control List" to open the WordPress editor:

Give the access control list a title, add entries with operations, fields and directives, configure what rules apply to them, and define their visibility (public or private):

When ready, click on the Publish button. Then, the new access control list becomes available to the schema configuration.
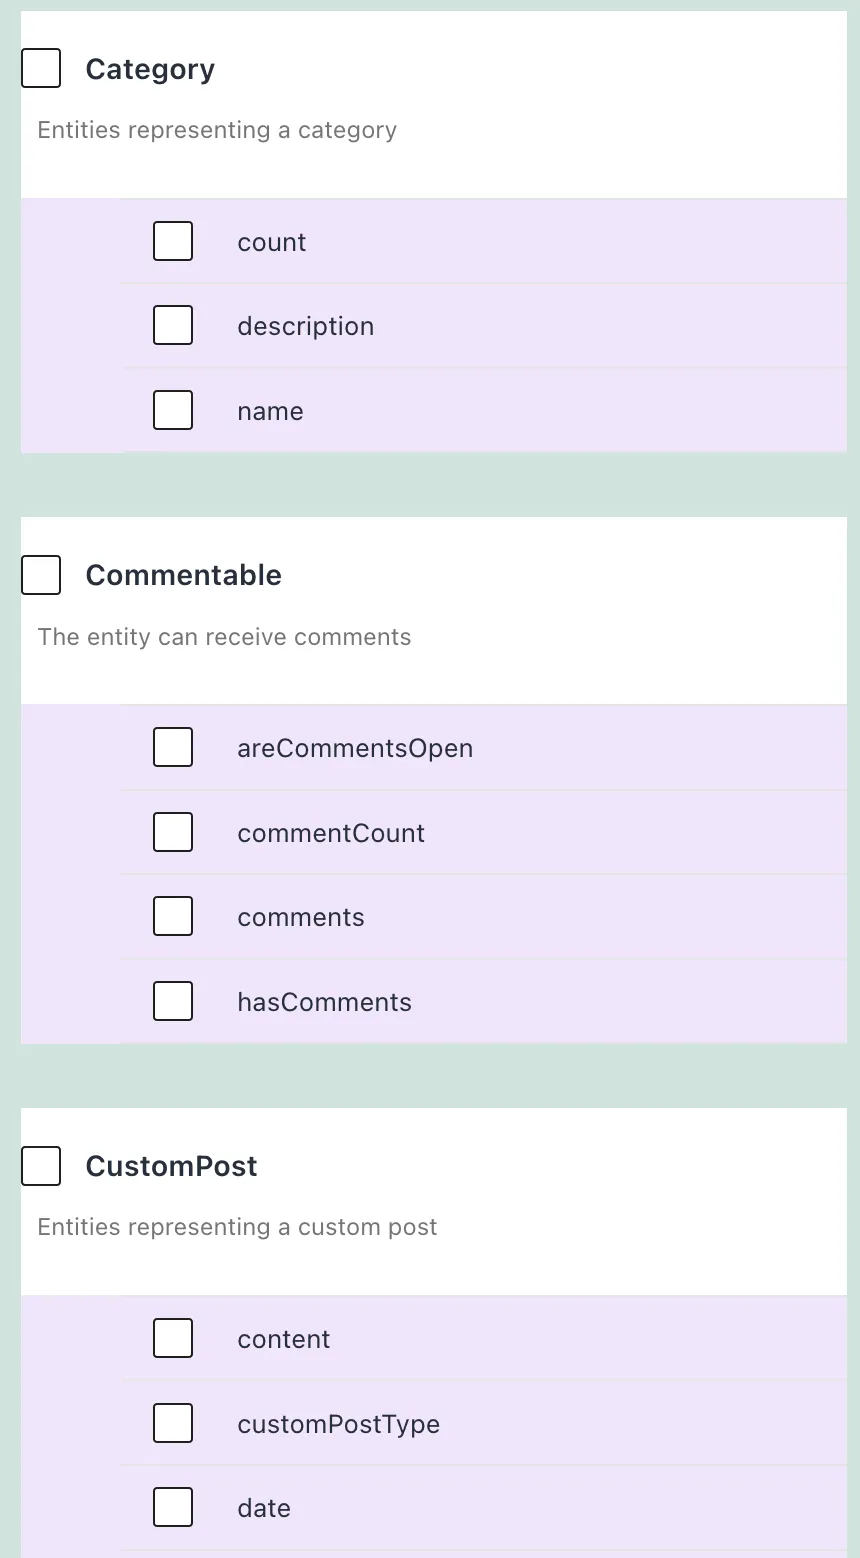
Access Control entries
Every Access Control List contains one or many entries, each of them with the following elements:
- The operations to grant or deny access to
- The fields to grant or deny access to
- The directives to grant or deny access to
- The list of rules to validate

Selecting fields from interfaces
In addition to fields from types, we can also select fields from interfaces. In this case, the access control validation is carried out on all types implementing the interface.
Public/private mode
If module "Public/Private Schema" is enabled, when access to some field or directive is denied, there are 2 ways for the API to behave:
- Public mode: Provide an error message to the user, indicating why access is denied
- Private mode: The error message indicates that the field or directive does not exist
If this module is not enabled, the default behavior ir public.
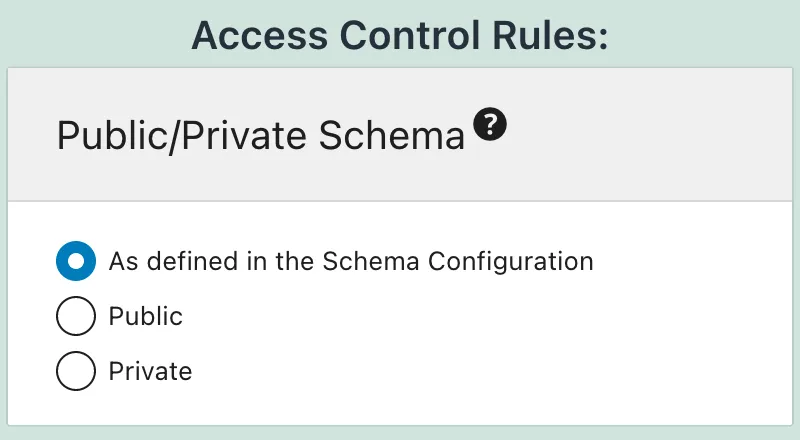
Granular public/private mode
If the option for "Enable granular control?" from module "Public/Private Schema" is on, the entry has an additional element:
- Public/Private Schema: behavior when access is denied
Describing the access control list
Use the "Excerpt" field, from the Document settings panel, to give a description to the access control list.
Find more information in guide Adding a description to the API.
Using the access control list
After creating the ACL, we can have the Custom Endpoint or Persisted Query use it by editing the corresponding Schema Configuration, and selecting the ACL from the list under block "Access Control Lists".

If not customizing the configuration, the default Access Control Lists defined on the Settings page, under tab "Access Control", will be used:
