
Installing and upgrading a Gato GraphQL extension
Make sure that you have the Gato GraphQL plugin installed and active.
After purchasing a Gato GraphQL extension, you will have access to the corresponding plugin file. Download it and install it in your WordPress site (under Plugins > Add new > Upload), and activate it.
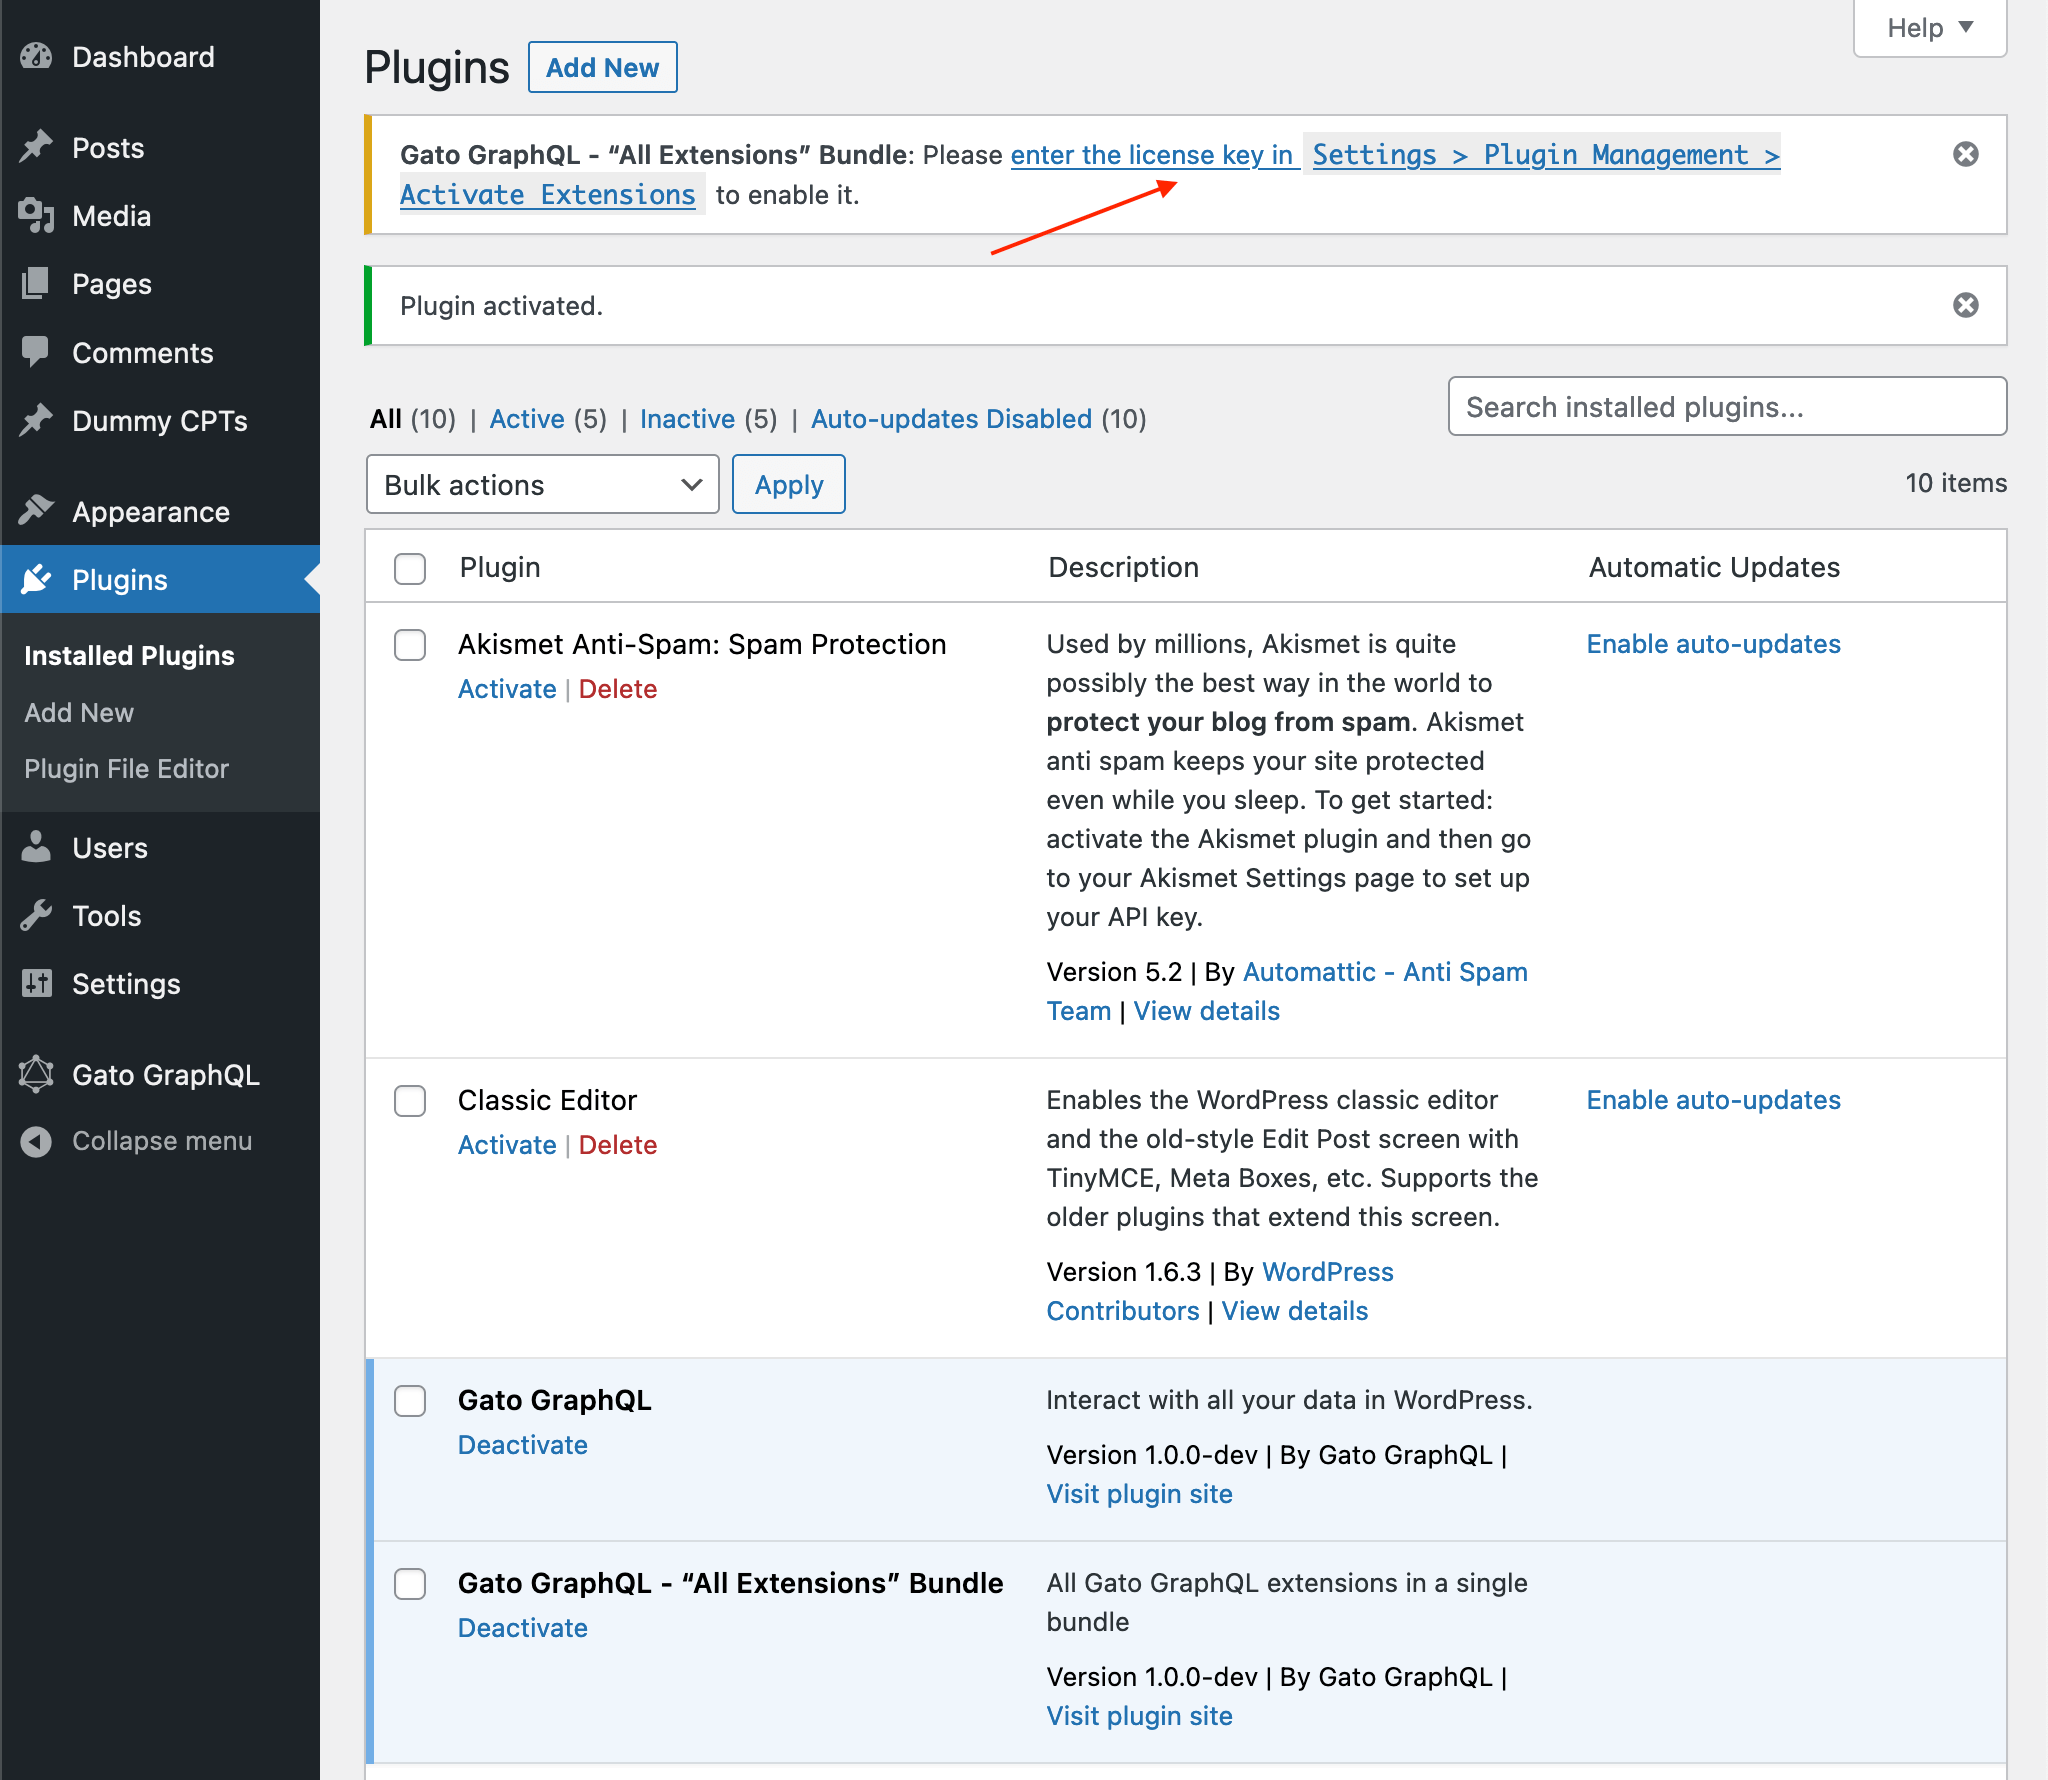
Upon activation, an admin notice will request to provide the license key:
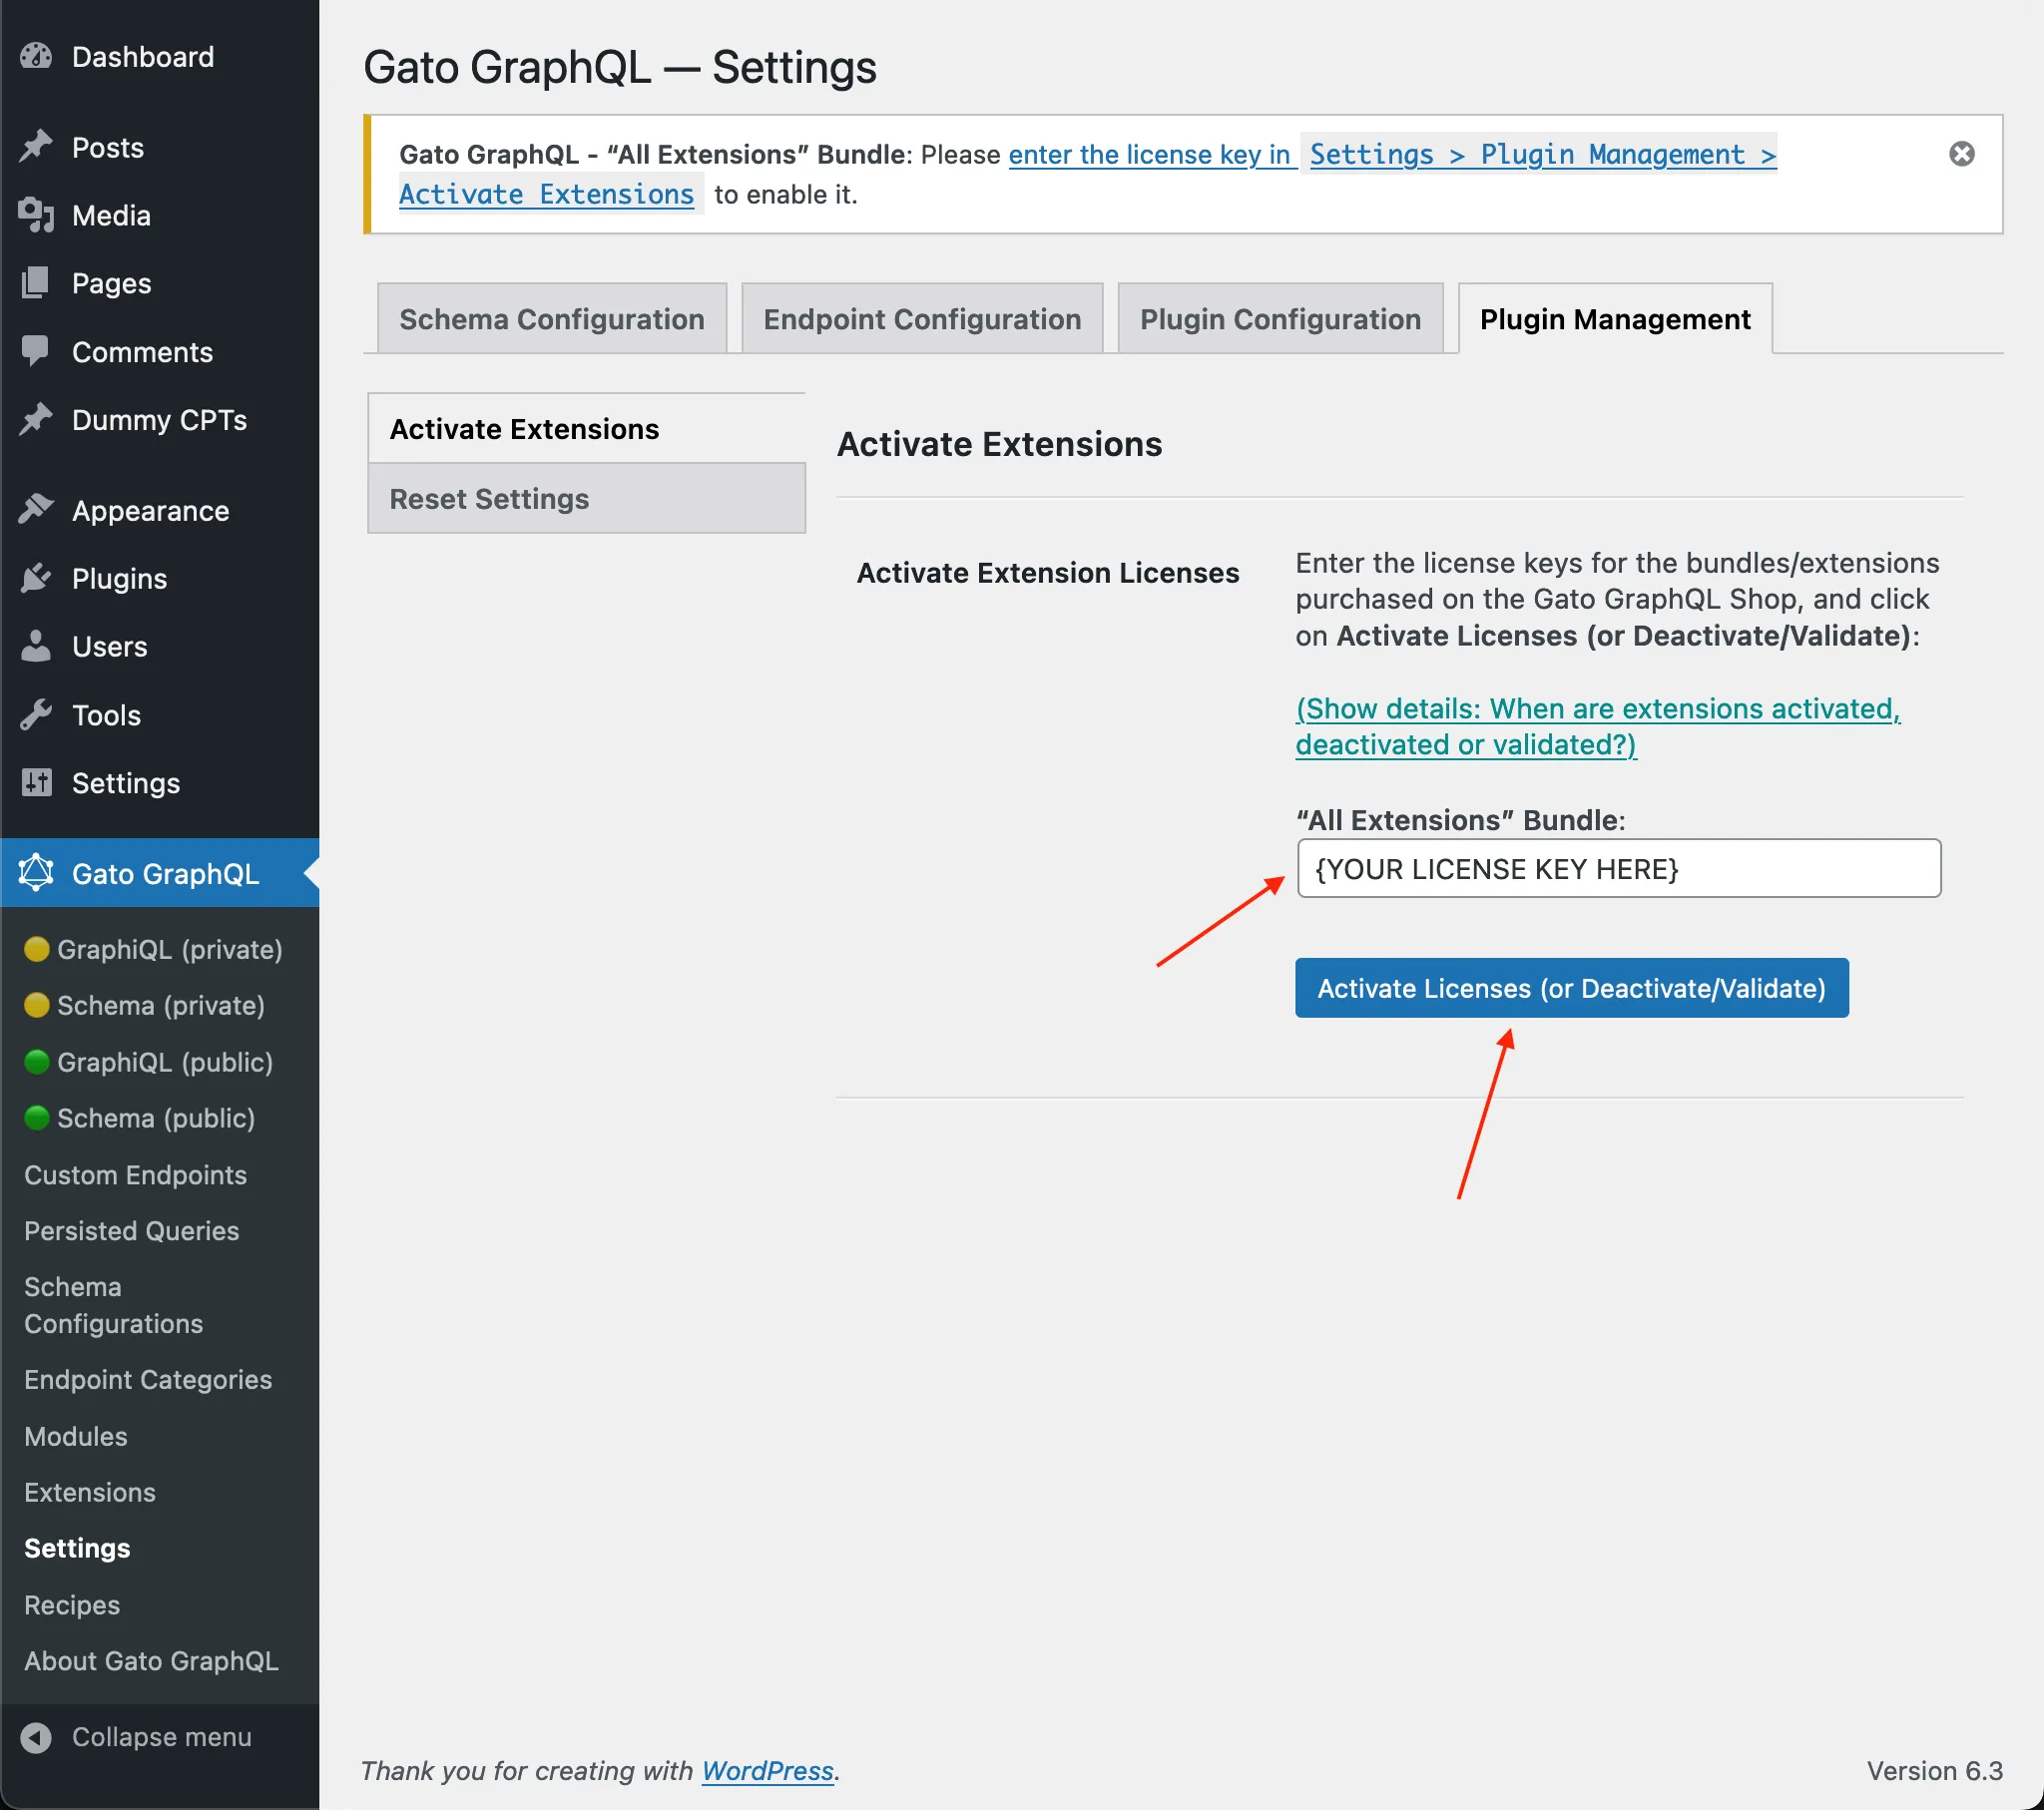
Click on the link to go to the Settings page. Then copy/paste the license key, and click on Activate licenses (or Deactivate/Validate).
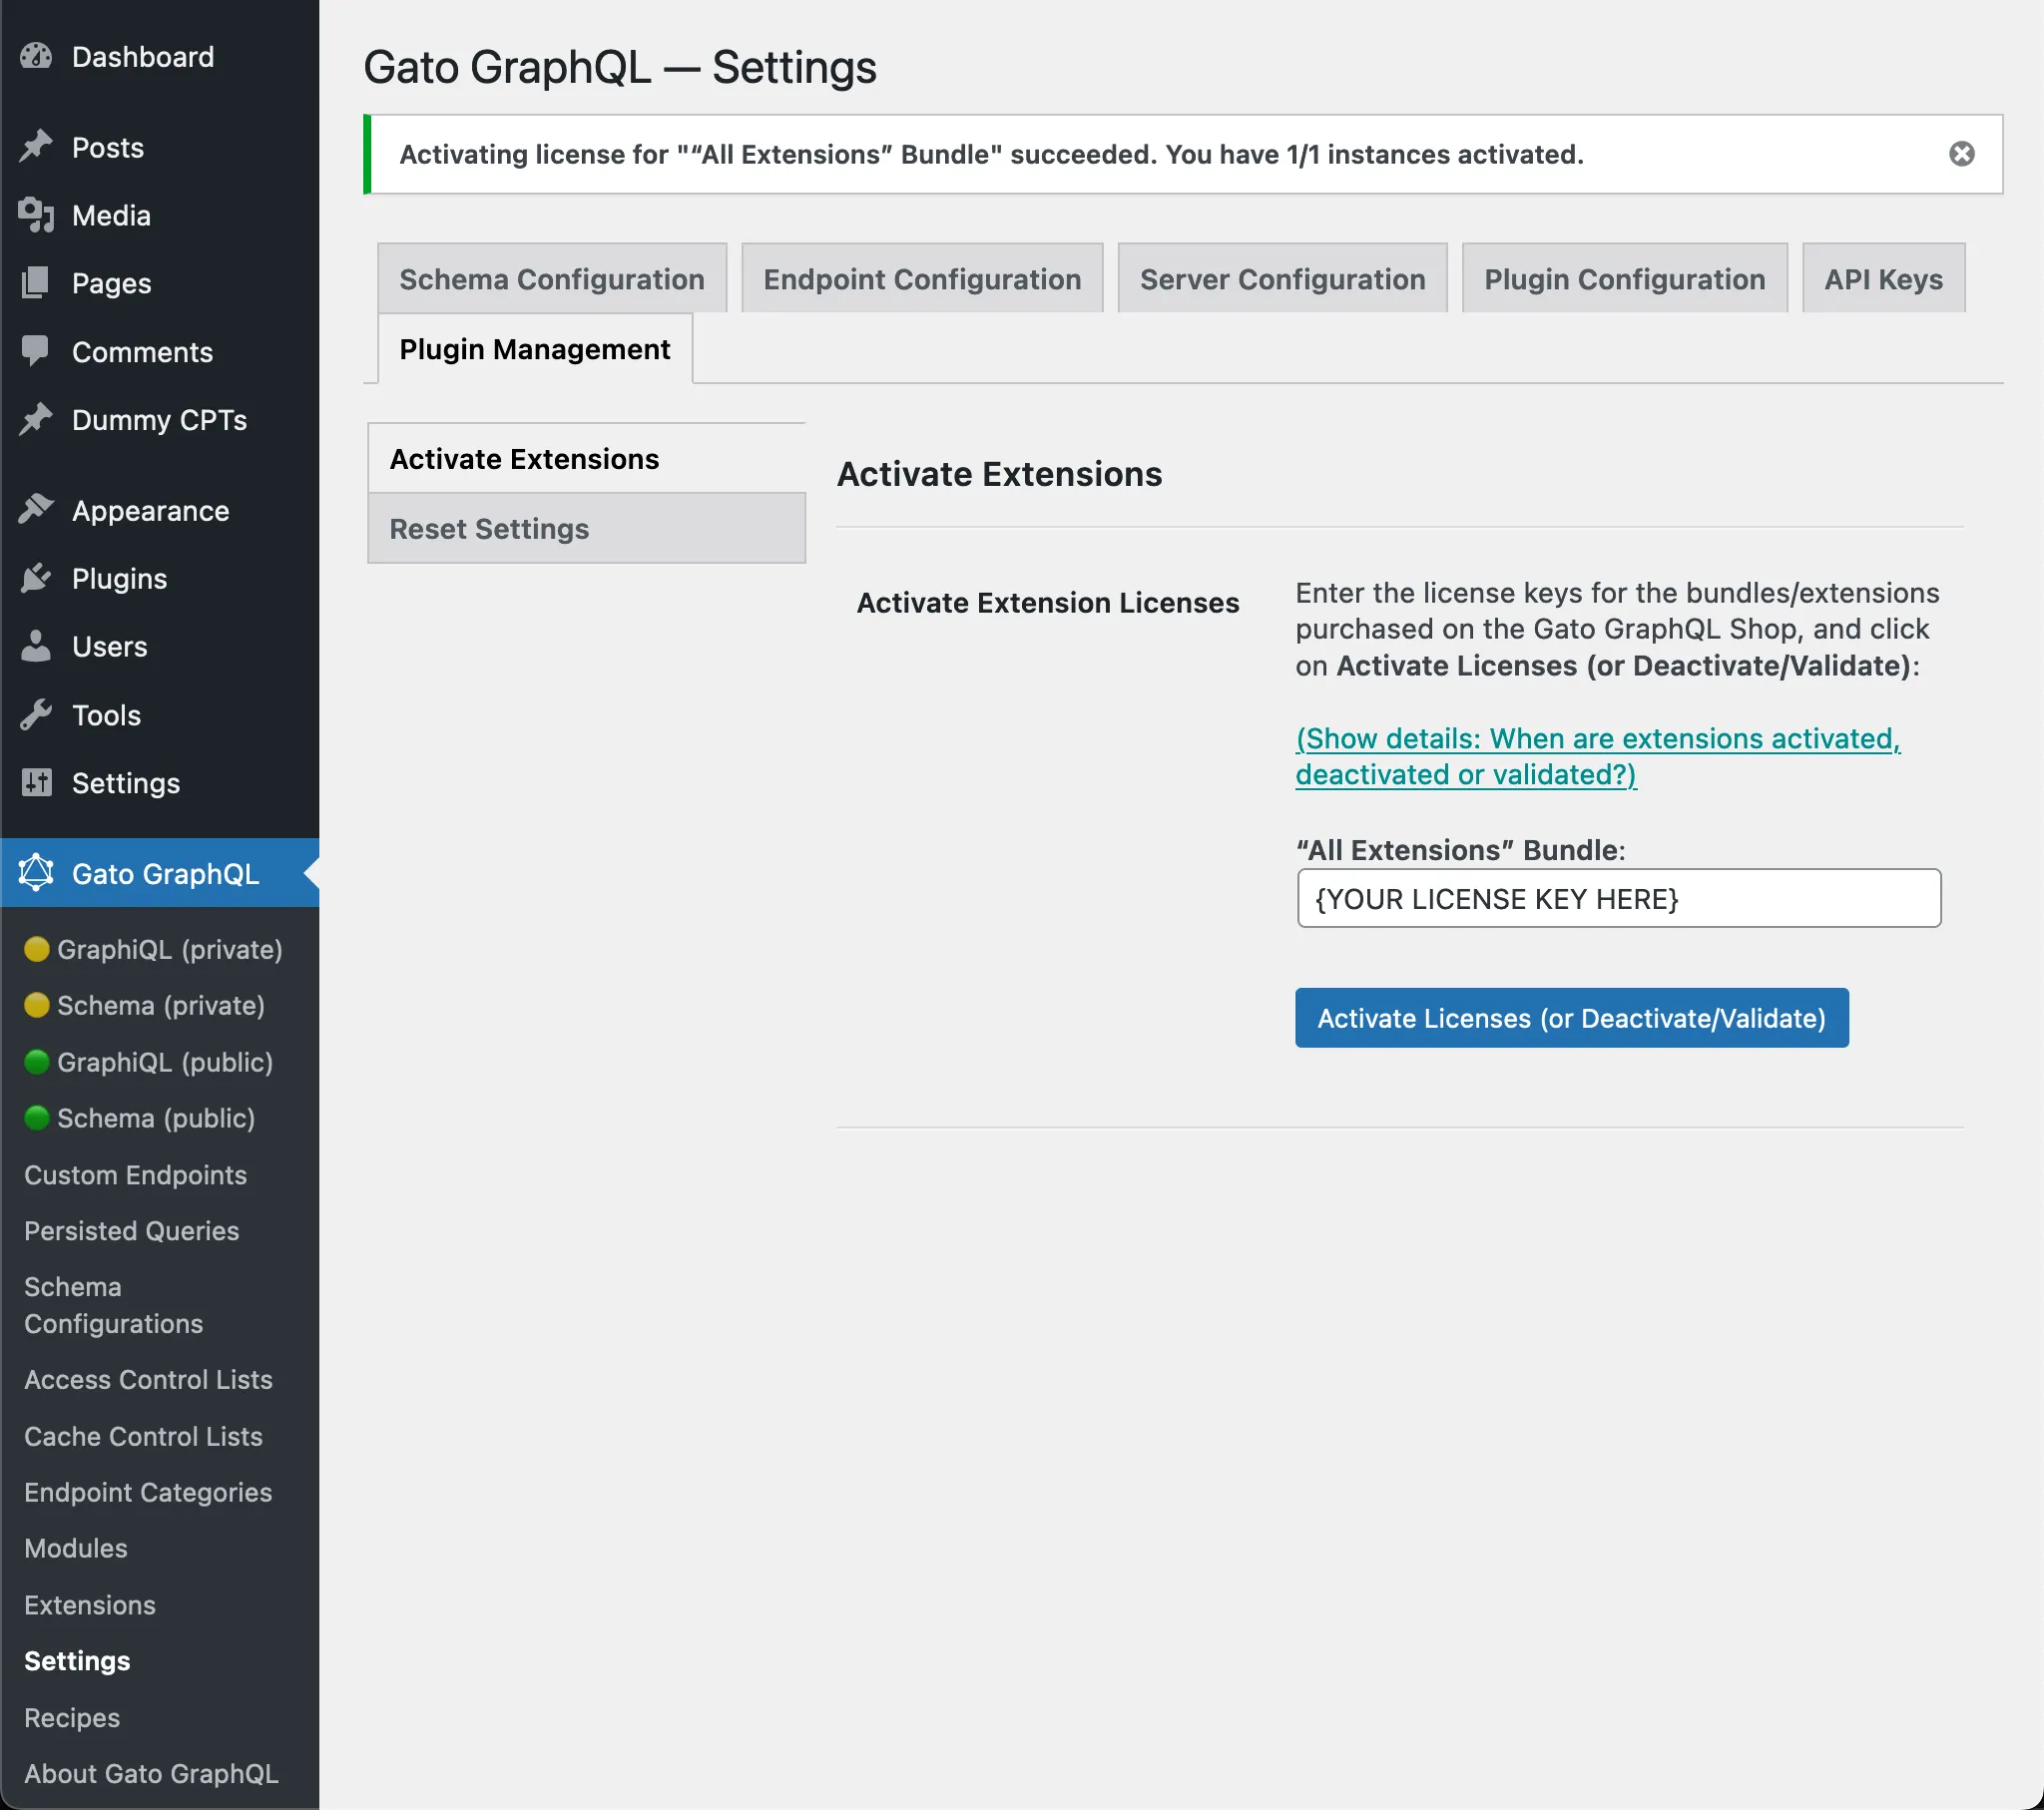
The extension plugin will now be activated and enabled:
Upgrading the Gato GraphQL extension (when a new version is released)
While your purchased product's license is active, the download file (available via My account) will be the most up-to-date one.
Whenever the Gato GraphQL plugin releases a new version, its extensions may also release a new, corresponding upgrade, with the same version number.
Check if there is such an update and, if so, download it and install it on your WordPress site.